What comes to mind when you hear “projection mapping”? Complex software? Large Outlay? me too.
Since this is my first go at projection mapping I wanted to find a way to get the effect with the equipment we had to hand. I started exploring and settled on the method below.
This will work great for flat surfaces or simple objects with straight edges. Think about any type of polygon, without intersections. It can be used with more complex objects with curved edges but the complexity of the “fine-tuning” stage will increase exponentially. Start simple and you can always add to it afterwards.
If you are planning to project the shape onto a flat surface you don’t have to worry about curves etc. Choose whatever shape you want!
What you will need
- Any standard projector
- A Computer (to connect to the projector)
Step 1 – Preparation
Decide on the shape you will use for your projection.
A) Projecting on an object – keep it simple any type of polygon, without intersections or curves. This will reduce the likelihood of overspill. You can, of course, use the overspill to your advantage (as in my example).
B) Projecting on a flat surface – choose any shape you like
Step 2 – Create Your Shape
Once you have your shape in mind, turn it into a vector. For my example, I am using the icon from our sister company (therestless.co.uk) and a generic wording example.
Open any vector editing software and create a canvas that matches the size of your projector. This is more to do with getting the right ratio (16:9/4:3) than the size itself. Since SVGs are vectors they can be resized without any reduction in quality.
Think of the canvas as a TV screen, this is what will be projected.
Create the shape and position it on the canvas where you want it to appear.
![]()
Step 3 – Cutout
Create a black box that covers the entire canvas and arrange/send it to the back, then punch your shape out of the black background.
![]()
You will now have a hole in the black box.
![]()
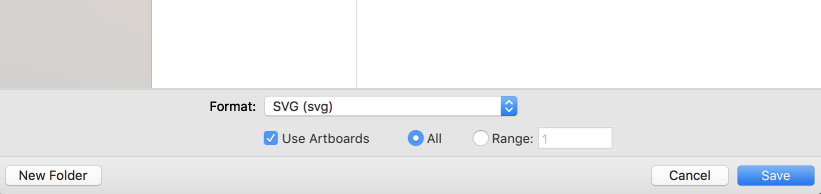
Step 4 – Export/Save
Export your new black box with a hole as an SVG, make sure you export using the artboard size.
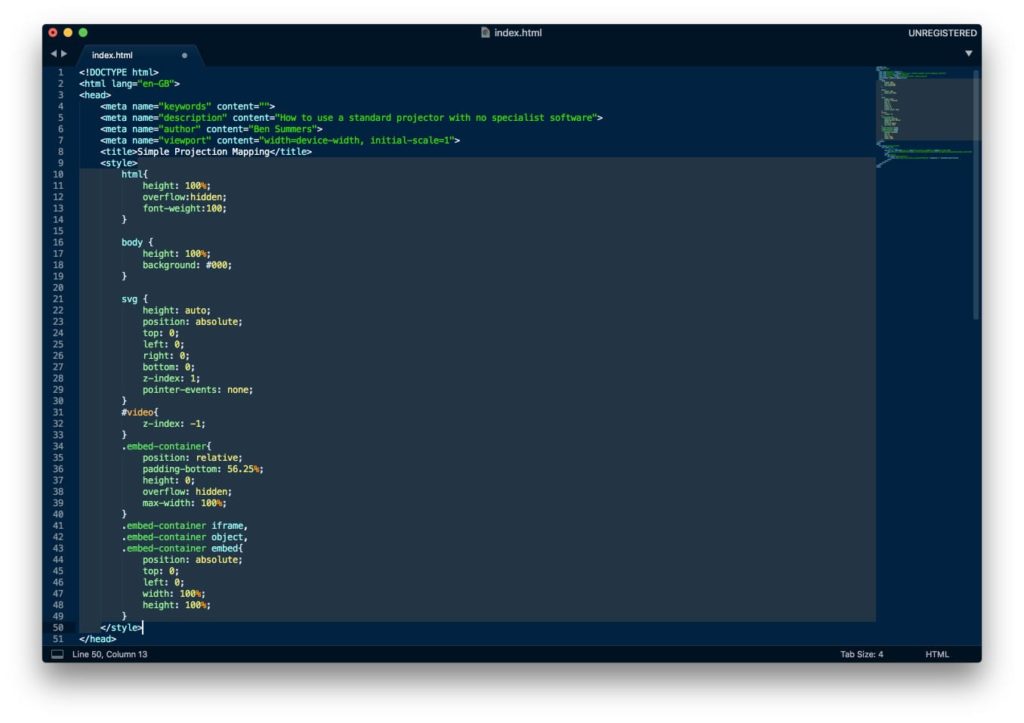
Step 5 – Webpage
Now you need to set up a local webpage. Since this just uses HTML you haven’t got to worry about running a local web server.
In any plain text editor create a new empty file called index.html. I’ve included the code you need on my CodePen account (click here) so you can copy and paste it into your file.
If you need a bit more help you can copy all the code from this link into the file.
Step 6 – Updating the overlay
Open your SVG in the plain text editor. Copy everything from <svg… to </svg> and replace my SVG in the sample code with yours.

Step 7 – Updating the video source
For this example, I am using YouTube videos as the source. Find the YouTube video you want to use and copy the video code (the numbers and letters after the last forward slash, eg: qsOUv9EzKsg).
In the code find where it says https://www.youtube.com/embed/qsOUv9EzKsg, and replace the code after the last forward slash with your video code.

Step 8A – Projecting onto a flat surface
Go ahead and project it. Hook up your projector as a second screen to your computer, open your index.html file in your browser, drag it over to the projector’s output and make it full screen. Don’t forget to hide the toolbar/bookmark bar in full-screen mode.
You are done, grab a coffee and ignore the rest of the steps.
Step 8B – Projecting onto an object
If you are projecting onto an object, get the projector and object set up in their final locations. It is important to make sure neither will be disturbed after they have been set up (and for the life of the installation).
Hook up your projector as a second screen to your computer, open your index.html file in your browser, drag it over to the projector’s output and make it full screen. Don’t forget to hide the toolbar/bookmark bar in full-screen mode.
Step 9 – Fine Tuning
You can now begin to fine-tune the projection. There are 3 ways of doing this (each with increasing difficulty).
1. Adjust the throw and focus of the projector
Try adjusting the projectors throw and focus, this in most cases will be sufficient for an “ok” fit.
2. Move the object
If possible try moving the object up/down/left/right /nearer/further from the projector to get the fit right.
3. Use the browsers “inspect element” to adjust the points of the SVG to fit on the object.
This last option will get the projection spot on but it does take a bit of knowledge and a lot of patience.
As you can see in the example below I used a very complex shape so there was some light spill. However, from the front view, it only added to the effect.
Conclusion
This is a very simple way to get started with projection mapping without using any expensive kit or software. Why not give it a go!